Carbon Fibre TRD Kit (Including Build Up)
+2
drew 007
Admin
6 posters
Page 1 of 1

Carbon Fibre TRD Kit (Including Build Up)
![]() Admin Wed Dec 08, 2010 12:28 pm
Admin Wed Dec 08, 2010 12:28 pm


Last edited by Admin on Thu Apr 14, 2011 4:43 am; edited 1 time in total
Admin- Admin
- Posts : 438
Join date : 2009-02-17 -

Re: Carbon Fibre TRD Kit (Including Build Up)
![]() drew 007 Tue Mar 01, 2011 4:13 pm
drew 007 Tue Mar 01, 2011 4:13 pm
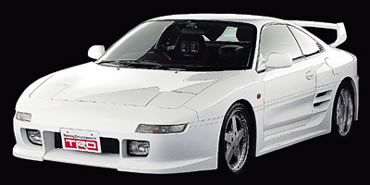
I remember seeing this a few years back and was in awe of it, that was before most cars were supporting some sort of carbon fiber... But think of the cost 

drew 007- Posts : 30
Join date : 2010-10-09
Re: Carbon Fibre TRD Kit (Including Build Up)
![]() Solrac28 Tue Apr 12, 2011 8:00 pm
Solrac28 Tue Apr 12, 2011 8:00 pm
And So it begins....

yeah.... I have to be nuts..... doing two builds and the engine projects all at the same time...... how crazy can you be?
Anyway, not being a authentic TRD Kit I have some things to adjust which is typical of the aftermarket kits. So far no biggies to deal with. Being carbon and not getting painted there is a fine blend of tweaking the kit or tweaking the chassis to make it come together right. The nice thing is having the real TRD kit on the car right next to this one so I can compair and make adjustments accordingly. Although they do have some hardware placed on the panels of this kit there are some missing which thanks to the magic of Mc Master-Carr I will be adding to make this kit as correct as possible and have the fitments as good as I can get it. So far it does not look to terrible. I am thinking the starting point is to get the TRD panels sitting next to the kit panels so I can note the differences. Next will be to get the alignment between the fenders and the front bumper spot on. Once this is done, pull them back appart (will have added proper hardware to make this easy) and start to fit the front bumper on the car and work my way back. As in one of the other sections shows, the aftermarket guys dont drill you anything so it is up to you to find the sweet spot for the mounting holes and so on. so once alignment of the exterior is established I will start from the center mounting point on the bumper and work out to the sides. In the picture it looks a bit funny because I did not pull the Passenger side fender yet and the bumper does not like it being there so it pushes everything to the driver side.
Admin,
Let me know if you want me to continue here or somewheres else with the progress pictures. Or if you car to have both the TRD Car and the CF car progress together. Email or PM me and let me know how you want this organized.
Best Regards,
c
Solrac28- Posts : 26
Join date : 2010-11-12
Re: Carbon Fibre TRD Kit (Including Build Up)
![]() Admin Thu Apr 14, 2011 4:45 am
Admin Thu Apr 14, 2011 4:45 am
Carry on here - Ive altered the thread title for you :-)
Always, interests me these as its a bit like having the kit ready painted so fit willbe pretty much critical - will be interesting to see how you overcome any probs with it. Put as many photos up as you can :-)
Always, interests me these as its a bit like having the kit ready painted so fit willbe pretty much critical - will be interesting to see how you overcome any probs with it. Put as many photos up as you can :-)
Admin- Admin
- Posts : 438
Join date : 2009-02-17 -
Re: Carbon Fibre TRD Kit (Including Build Up)
![]() Solrac28 Sun Apr 17, 2011 8:45 pm
Solrac28 Sun Apr 17, 2011 8:45 pm
Well as expected the kit has its short comings and can not be compaired to the real thing. I look at the panels on my real kit and how they fit so precisely and the CF kit has its share of issues that I am working around. So far I have the front bumper corrected and fitting properly. I added the extra mounting hardware to the bumper as they where to cheap to include them all but that is ok and pretty easy to get around. Fitting the driverside front fender was interesting as the tabs that are supposed to align the fender to the bumper are just off and will be cut off and refiberglassed in the right possition so things line up exactly as they should. None of the holes are drilled in any of the matting panels so thats another layer of work. All in all it will have an awesome look when finished but you definately need to be good with your hands to take this on.
The only way to get really good alignment to the front end is to mount the fenders to the bumper. Take them back appart and then put them on the car once you have all the alignment issues resolved. At this point drill your mountings for the fenders and push on the the next site of work. This is the order so far:
1. Fit front bumper and add hardware.
2. Fit fenders to bumper making adjustments for the sloppy work from over seas.
3. Where the fenders meet the front bumper they have a black margin painted hiding the work on the edges. I will be taking advantage of this and using fine bondo will close up the gaps and square them up so they form straight lines. Then they will be painted black as they where when I received the kit hiding, what I like to call "The Fit Work". It will look just like in the pictures but with nice tight seams that are nice and square and straight. (similar to the way someone closed up the gap where the wing meets the trunk lid in on of the threads on here).
Once I finish putting this kit on my plans are to fix some areas I don't like with additional resin, shaping, and then re-clear the entire car a few times over so I don't have to worry about yellowing. All in all it will look cool. I have to just get over a few hurdles as was expected.
After doing this I am going to love working on the real TRD Kit..... Thats going to be nothing by comparison. The carbon fiber throughs another layer of complexity to the process. But nothing is impossible with enough determination. And I'd like to have this come out as nice as the real deal so give me time. I think it will be a head turner.
Now time for a vote.... what do you think do an overlay of CF on the roof and down the b-pillars to hide the work there or just paint it a graphite and call it a day?
Update on the engine. It is ready to go in. Initially it will go in as an NA and then will be upgraded to its turbo goodness. I have both turbos in my possession and even someone to help make the manifolds. So I need to get off my but and get the stroker 3SGTE out and get that 2grfe in. Everything is there and waiting so time to get off my butt and do that part of it. The harness is almost ready. It would be nice to have the engine in before it gets here so I can plug everything in and go. While I am at it I will be adding the ABS system to this car as I discovered all the wiring is there.
Solrac28- Posts : 26
Join date : 2010-11-12
Re: Carbon Fibre TRD Kit (Including Build Up)
![]() Admin Mon Apr 18, 2011 12:24 am
Admin Mon Apr 18, 2011 12:24 am
I actually have some pics somewhere of fixing the gap between the winga nd the front bumper - I will try and find them and post them up.
I was aiming for a similar gap as per the side strips on the door - sort of how I want it but the more i look the more faults I find - arghhh - its never ending! LOL

Take plenty of photos when you do it as the only person I know off doing a CF kit and it will be useful info to know ho to get round fitment issues.
With regards to roof or not - cant help there as I think either would look just as good
I was aiming for a similar gap as per the side strips on the door - sort of how I want it but the more i look the more faults I find - arghhh - its never ending! LOL
Take plenty of photos when you do it as the only person I know off doing a CF kit and it will be useful info to know ho to get round fitment issues.
With regards to roof or not - cant help there as I think either would look just as good
Admin- Admin
- Posts : 438
Join date : 2009-02-17 -
Re: Carbon Fibre TRD Kit (Including Build Up)
![]() Solrac28 Mon Apr 18, 2011 7:47 am
Solrac28 Mon Apr 18, 2011 7:47 am
You don't have do dig them up. They are in the panel fitment section. The problem since I am doing this without any help is holding the camera and taking pictures at the same time. Wanna come over and help? :-)
Solrac28- Posts : 26
Join date : 2010-11-12
Re: Carbon Fibre TRD Kit (Including Build Up)
![]() Admin Mon Apr 18, 2011 8:59 am
Admin Mon Apr 18, 2011 8:59 am
Solrac28 wrote:The problem since I am doing this without any help is holding the camera and taking pictures at the same time. Wanna come over and help? :-)
I understand just how you feel! Would love to help but I think your a bit far away!
If its any help once I was happy with alignment of the top of the front wing and the rear wing was bonded on I actually made myself a jig out of 2 pieces of chipboard in the shape of a "T" to act as a perfectly flat guide. After covering it in tape to act as a barrier and using the top of the strip on the door as a guide I then chocked it up so I could get the true line of where the bottom of the front and rear wings should lie. Then fille din the gap with filler (if its the oopositer problem just sand/file away too much material then do it.


Once you have this reference point and all the filler has gone off tape the bottom of this new refeernce point up and then cover top of sideskirt with filler and fit it - should end up with a perfectly straight/flat join.
Started with this....

and ended up with this...

Although they looked blended where the wing meets the bumper they are completely separate and and only but jointed together. Once I sanded the corner off to give them a slightly rounded edge etc it becomes obvious its a separate panel.

Admin- Admin
- Posts : 438
Join date : 2009-02-17 -
Re: Carbon Fibre TRD Kit (Including Build Up)
![]() Solrac28 Mon Apr 18, 2011 3:54 pm
Solrac28 Mon Apr 18, 2011 3:54 pm
That is brillant and going to be a great help. I was thinking about using Aluminum L stock to do the same thing. One thing I am not looking for is fitting the gas lid as they missed the mark by 3/8 of inch towards the back. Again with the "Lucky" part it was in the black area where I could cut, fill, reshape, and then repaint black again. This then leds to the question of doing it the way CRW did it with the original hinge or go after a cabinet hinge and keep it as Original TRD as possible. What brand hinge did you use after your several tries?
Solrac28- Posts : 26
Join date : 2010-11-12
Re: Carbon Fibre TRD Kit (Including Build Up)
![]() Admin Tue Apr 19, 2011 1:23 am
Admin Tue Apr 19, 2011 1:23 am
TBH A very long spirit level similar to a builders one would be best but they were all about £100 UKPounds which seemed a lot plus I actually made mine curve round the front so I could get the front of the wing aligned too. Took me about an hour to make but well worth it.
Admin- Admin
- Posts : 438
Join date : 2009-02-17 -
Re: Carbon Fibre TRD Kit (Including Build Up)
![]() Solrac28 Tue Apr 19, 2011 8:03 am
Solrac28 Tue Apr 19, 2011 8:03 am
Thanks for the tip. Once I get to the rear quarters I will put it to good use. Here is what I did last night after spending too many hours screwing around with the Forward Motion Perfromance Website. I needed a break. So what the photo does not show is that the clutch is also on and transmission will be mounted today. Which means time to pull the 2.2L Stroker out and drop the 2GR in. Will try to get pictures of this as I go and keep adding. I need to go buy some fiberglass supplies before I can go on with the body kit and it be best to have that heavy engine in its place before I go put the rear quarters on.

Shameless plug.... here is my custom chromoly SFI Certified Flywheel. I will have five extras in stock if anyone is interested. Contact me.
Shameless plug.... here is my custom chromoly SFI Certified Flywheel. I will have five extras in stock if anyone is interested. Contact me.
Last edited by Solrac28 on Fri Apr 22, 2011 12:21 am; edited 1 time in total
Solrac28- Posts : 26
Join date : 2010-11-12
Re: Carbon Fibre TRD Kit (Including Build Up)
![]() Solrac28 Fri Apr 22, 2011 12:19 am
Solrac28 Fri Apr 22, 2011 12:19 am
Here is the trans engine and temp exhaust on the engine.


Solrac28- Posts : 26
Join date : 2010-11-12
Re: Carbon Fibre TRD Kit (Including Build Up)
![]() Solrac28 Fri Apr 22, 2011 12:26 am
Solrac28 Fri Apr 22, 2011 12:26 am
Just to avoid the question, the exhaust system is Gouky's prototype exhaust that I am going to use for a little while to get all the gremilins out of the system before I strap on the two turbos. Baby steps. I don't what to hurt anything. Once I am through with it and go turbo I will sell it the exhaust system off to whomever wants a bolt on system with no need for the y-pipe that would be required if you go with the headers. This system includeds the mufflers and everything needed to just bolt on.
Solrac28- Posts : 26
Join date : 2010-11-12
Re: Carbon Fibre TRD Kit (Including Build Up)
![]() Solrac28 Sun Aug 21, 2011 7:48 pm
Solrac28 Sun Aug 21, 2011 7:48 pm
Well finally I got some free time to install that engine. I know its been awhile but I have been busy developing the Forward Motion Pefromance head stud & hardware kit, Main stud & hardware kit, Head gaskets, valve train compoments for the 2GRFE as well as setting up www.ForwardMotionPerformance.com. Anyway I thought maybe you guys would like to actually see an engine in the car this time :-). So here are a few pictures. Hope you enjoy them.
Best Regards,
c


Best Regards,
c
Solrac28- Posts : 26
Join date : 2010-11-12
Re: Carbon Fibre TRD Kit (Including Build Up)
![]() Admin Thu Aug 25, 2011 9:36 am
Admin Thu Aug 25, 2011 9:36 am
Any news on the bodywork?
Admin- Admin
- Posts : 438
Join date : 2009-02-17 -
Re: Carbon Fibre TRD Kit (Including Build Up)
![]() ayresyboy Mon Dec 05, 2011 4:56 pm
ayresyboy Mon Dec 05, 2011 4:56 pm
I think he sold the CF kit

ayresyboy- Posts : 79
Join date : 2010-11-04
Age : 41
Location : Sandgate, Kent -
Re: Carbon Fibre TRD Kit (Including Build Up)
![]() Infamous Wed Dec 07, 2011 4:13 pm
Infamous Wed Dec 07, 2011 4:13 pm
Yeah I think I remember reading that the kit was sold on the US forums. 
Infamous- Posts : 98
Join date : 2011-01-25
Location : Ireland
Re: Carbon Fibre TRD Kit (Including Build Up)
![]() h00t Mon Apr 22, 2013 9:32 pm
h00t Mon Apr 22, 2013 9:32 pm
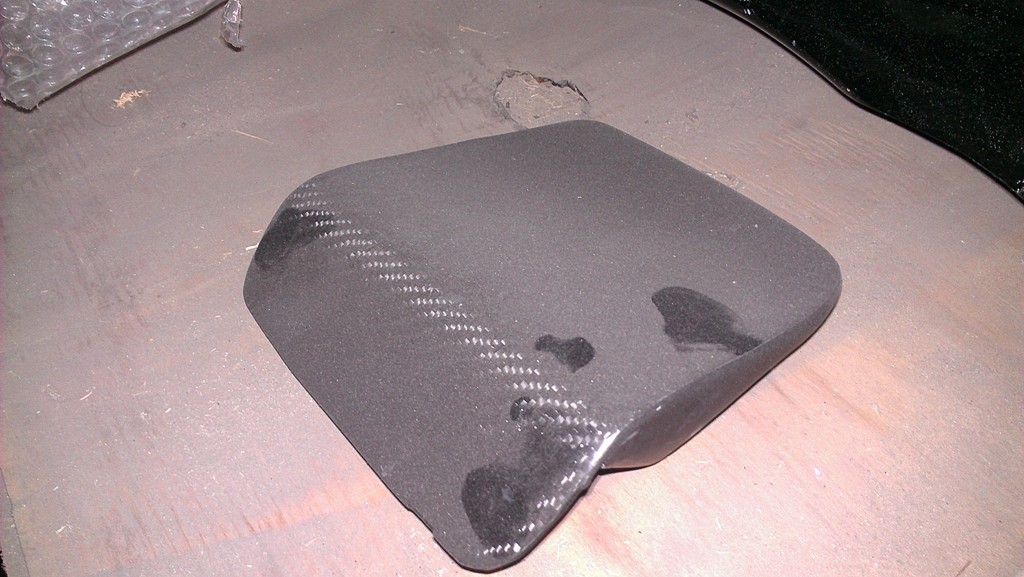
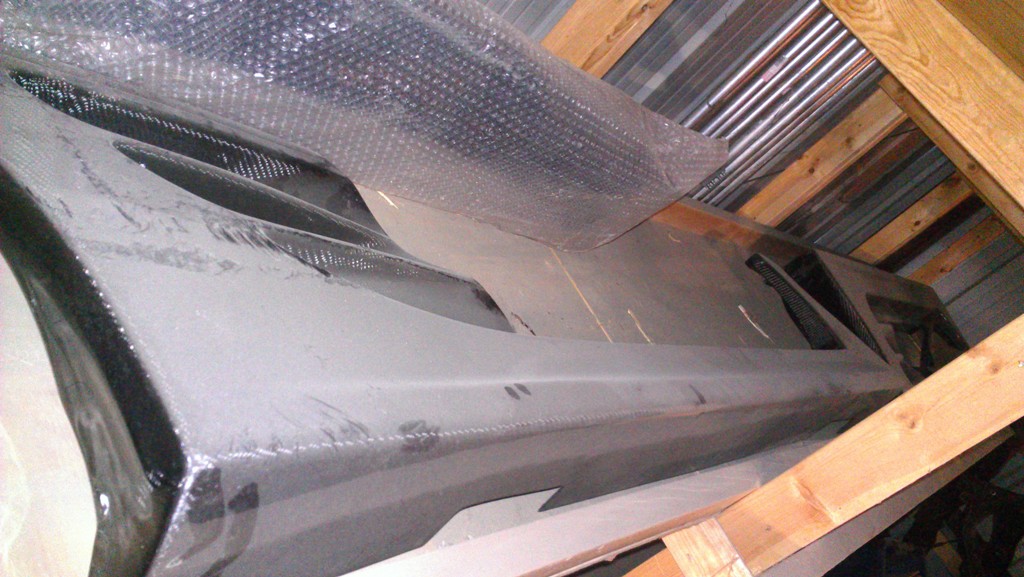
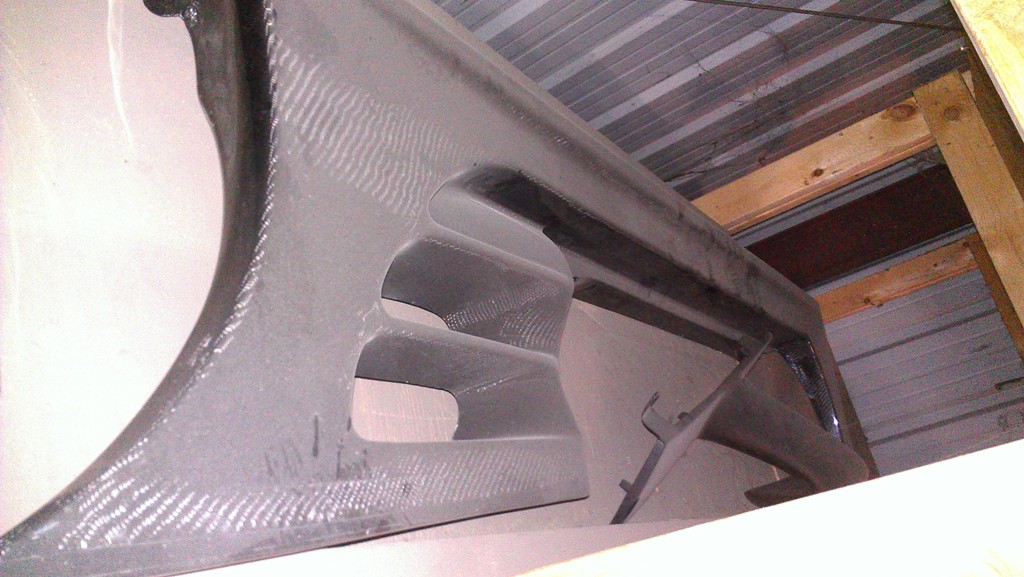
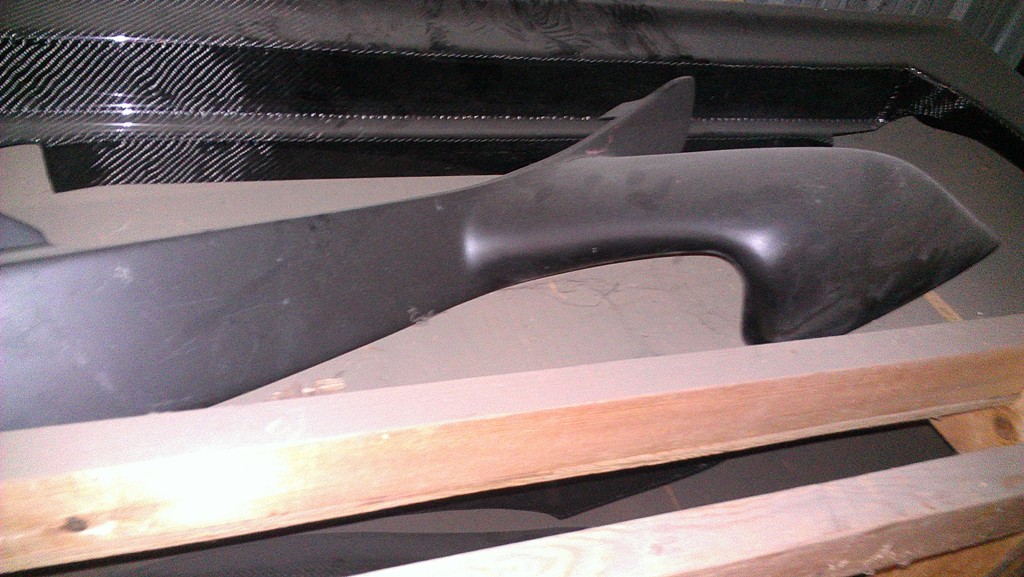
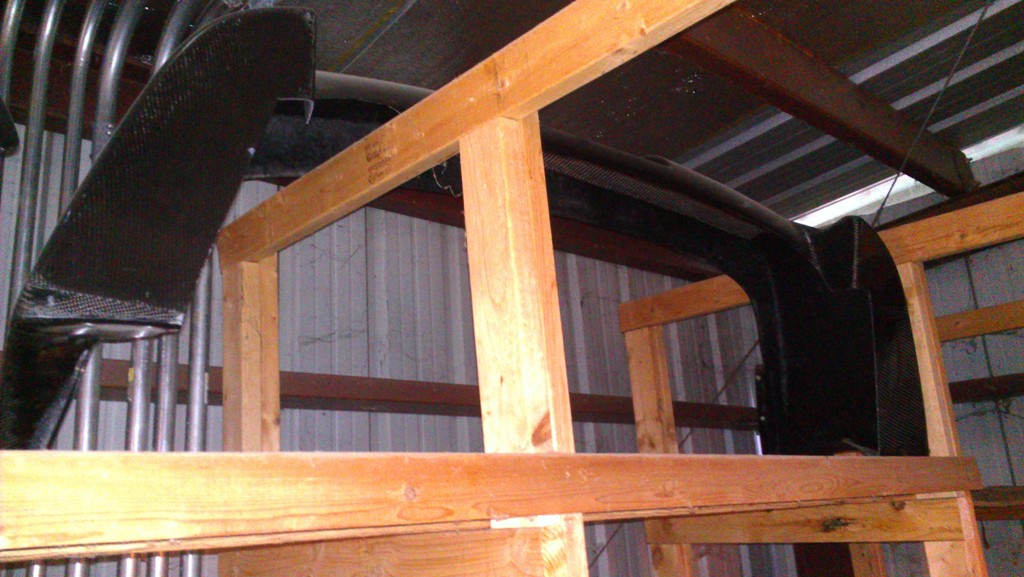
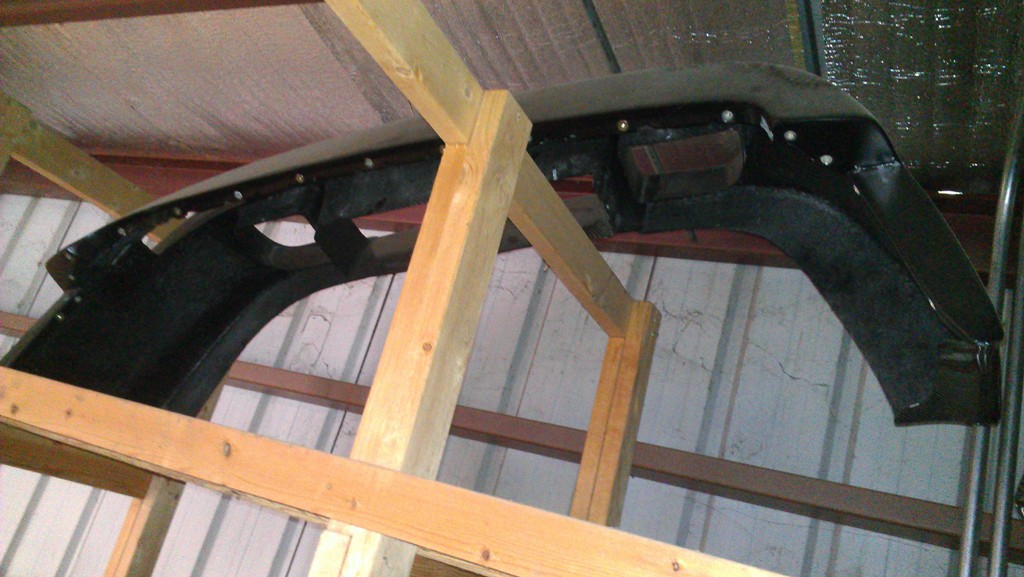
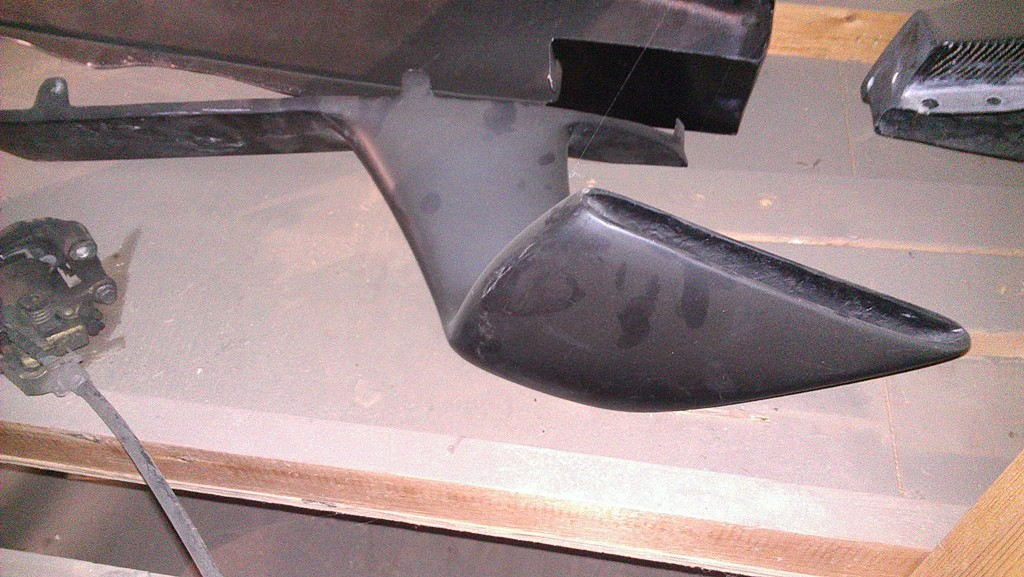
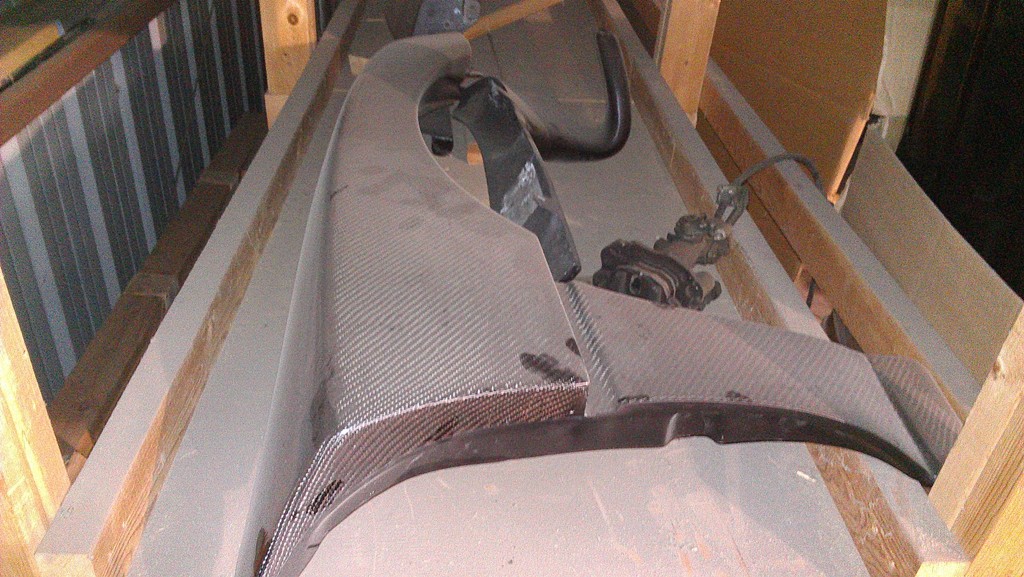
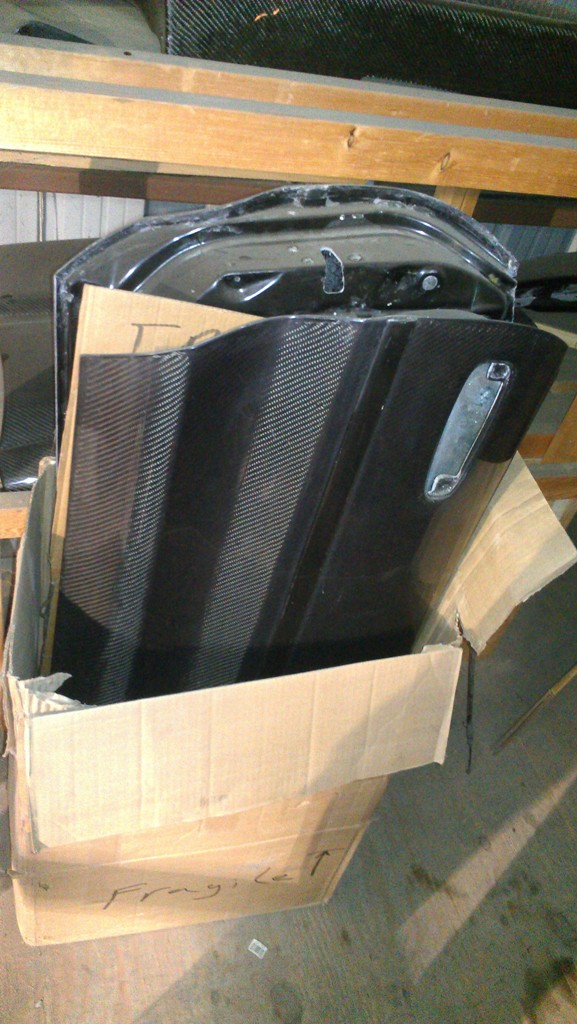
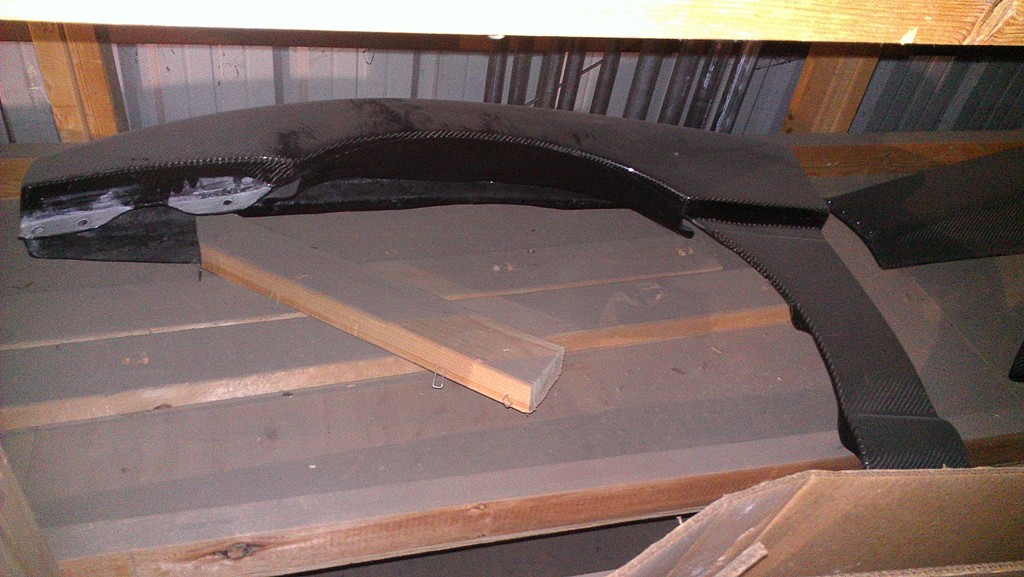
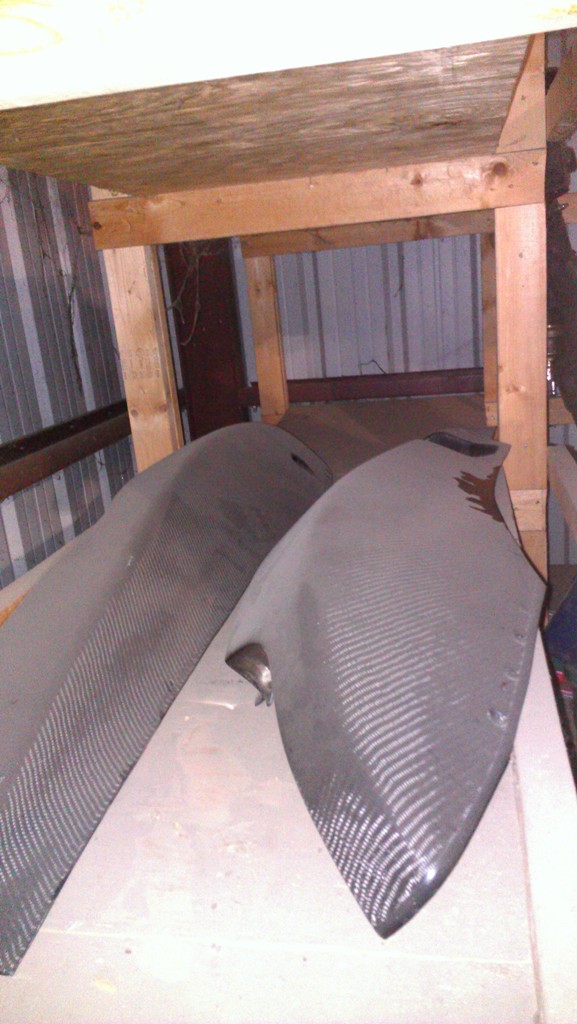
I'll just leave this here...

I'll provide more details as things develop
I'll provide more details as things develop
h00t- Posts : 2
Join date : 2013-01-05
Re: Carbon Fibre TRD Kit (Including Build Up)
![]() h00t Tue Aug 27, 2013 2:55 am
h00t Tue Aug 27, 2013 2:55 am

It's on like donkey kong!
h00t- Posts : 2
Join date : 2013-01-05
» TRD replica build in netherlands
» TRD REPLIC BUILD NO2
» MR2 Super GT build
» My TRD Replica build with v6
» Site owners Build
» TRD REPLIC BUILD NO2
» MR2 Super GT build
» My TRD Replica build with v6
» Site owners Build
Page 1 of 1
Permissions in this forum:
You cannot reply to topics in this forum|
|
|